Chapter 5 Make a document
The simplest way to start with R Markdown is to use the boilerplate template that ships with RStudio. But first, we need to talk about hygiene briefly.
Make sure you set up a folder for this new document you are making. For now, let’s just consider that this folder will house a single R Markdown document.
5.1 Getting set up
5.1.1 Update packages
The only package you need for this cookbook is rmarkdown but if you are using RStudio, you are all set!
The rmarkdown package does not need to be explicitly installed or loaded here, as RStudio automatically does both when needed.
However, if you haven’t updated your package recently (or ever), you can re-install it to make sure you are using the most up-to-date version from CRAN:
# check package version installed
packageVersion("rmarkdown")
# install if update is needed
install.packages("rmarkdown")
At the time of publishing, we are running rmarkdown version 2.14.
5.1.2 Make a project
We encourage you to start a new R project every time you start a “new” educational project.
Read up on creating projects in RStudio in the R for Data Science book.
For your first R Markdown document, we recommend starting by created a GitHub repository online first, then making a project in RStudio.
h/t to Matt Crump:
“If you’re not in a project, get in one, you’ll be happy you did later.”
We recommend following the tips on Happy Git with R and starting in GitHub before switching to RStudio:
Create a new repository on GitHub for your work.
- Do not initialize the repo with a
.gitignoreor aREADMEfile (we’ll add these later!).
- Do not initialize the repo with a
Copy the repository URL to your clipboard.
Do this by clicking the green Clone or Download button.
Copy the HTTPS clone URL (looks like:
https://github.com/{yourname}/{yourrepo}.git).Or copy the SSH URL if you chose to set up SSH keys (looks like:
git@github.com:{yourname}/{yourrepo}.git).
Create a new RStudio Project via git clone. Open RStudio.
Do this by clicking File > New Project > Version Control> Git.
Paste the copied URL.
Be intentional about where you tell RStudio to create this new Project.
Click Create Project.
Follow these instructions from Happy Git with R to start with a new repo on GitLab or Bitbucket, instead of GitHub.
If you have zero interest in publishing a single R Markdown document, you can skip the GitHub step and jump to the next.
If you would like to make a project from an existing folder, you have two options. Go to File > New Project > Existing Directory in RStudio, or from your R console run:
install.package(usethis) # once per work station
usethis::create_project() # once per project
5.1.3 Get to know Markdown
If this will be your first foray into R Markdown territory, we strongly encourage you to take 10 minutes to do an interactive Markdown tutorial. Doing this will save you so many headaches in the future! It will answer all kinds of burning questions, like how to insert pretty images like Figure 5.1.
](images/horst_rmd_wizards.png)
Figure 5.1: Artwork by Allison Horst
5.2 Make a document
In your RStudio IDE from in your new project, do this:
File > New File > R Markdown
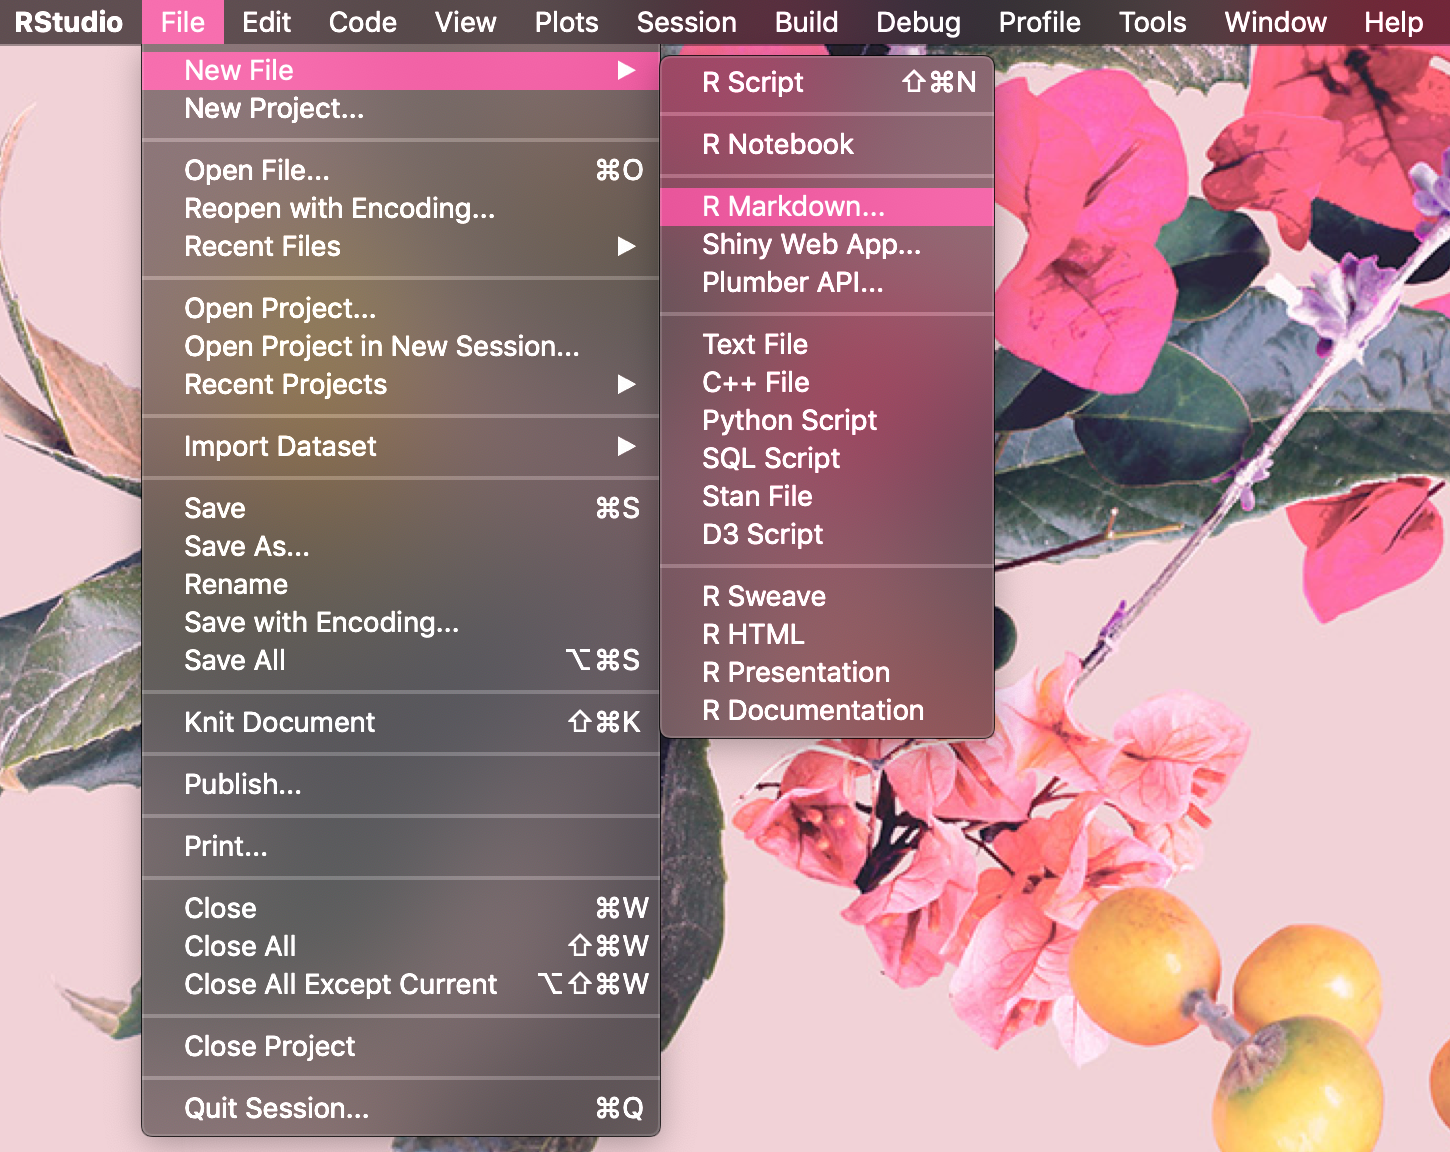
Figure 5.2: Using the R Markdown template in RStudio
In the window that pops up (see Figure 5.3), do the following:
Go ahead and give your document an informative title. This will not be the filename of your new
.Rmdthough- go ahead and use spaces, colons, any punctuation you want.You can enter your name as the author, but you can also enter it later too, and leave it blank for now.
Keep the default output format as HTML.
Click OK.
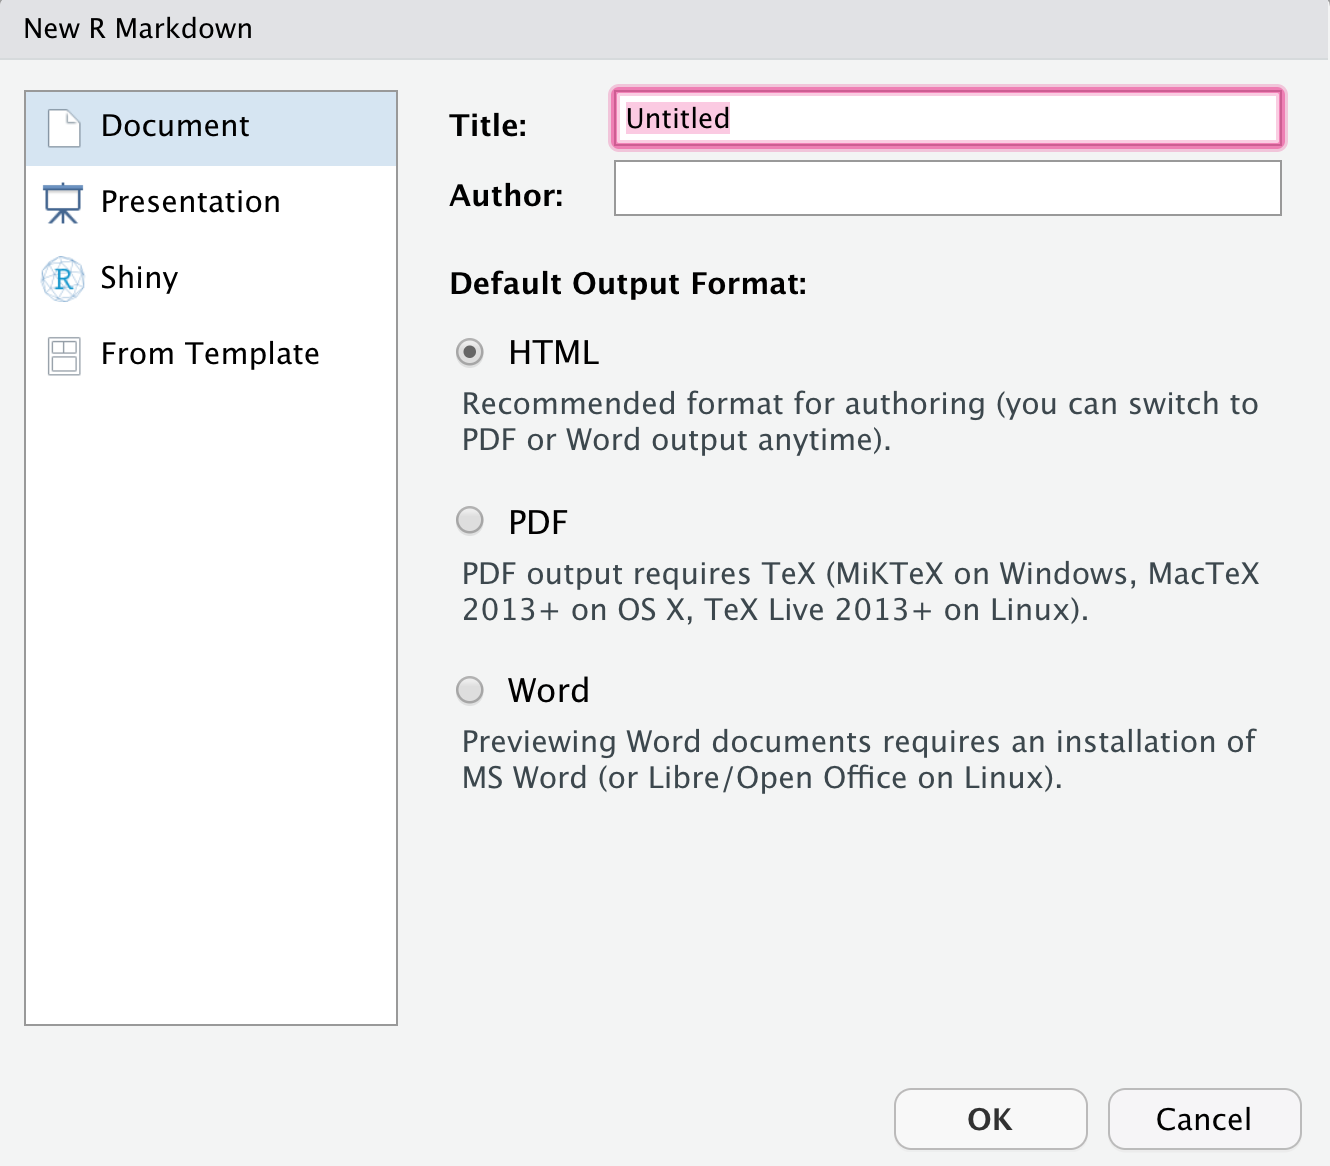
Figure 5.3: File > New File > R Markdown
You should now be looking at a freshly-baked R Markdown document template like Figure 5.4.
But before you can enjoy it, you need to save it. And to save it, you need to name it because it is currently named Untitled1.Rmd.
Go ahead and name the file, leaving out any spaces, special characters, and punctuation (I named mine workshop-outline.Rmd), then save.

Figure 5.4: R Markdown, straight out of the project oven
Naming things is hard!
Here is a whole slide deck about it from Jenny Bryan.
5.3 A mini-orientation
If this is your first R Markdown file, we strongly suggest that you read the R Markdown chapter in the R for Data Science book.
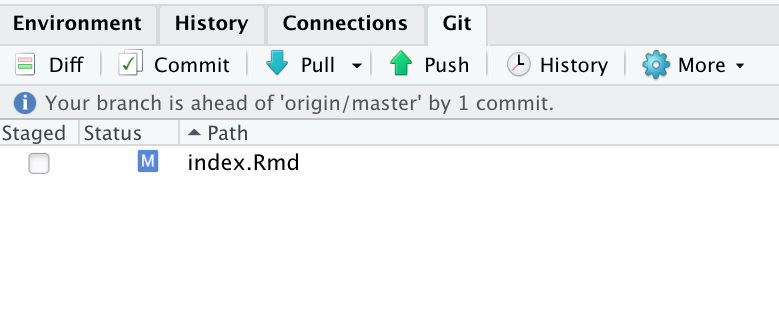
5.4 Push to GitHub
Let’s get this document pushed up to our remote repository on GitHub. Do the following from RStudio:
Click Git in the same RStudio pane that also contains the Environment tab.
Check the box(es) under the “Staged” column and click Commit.
Add a commit message like “initial commit” and then click Push.
5.5 Knit to HTML
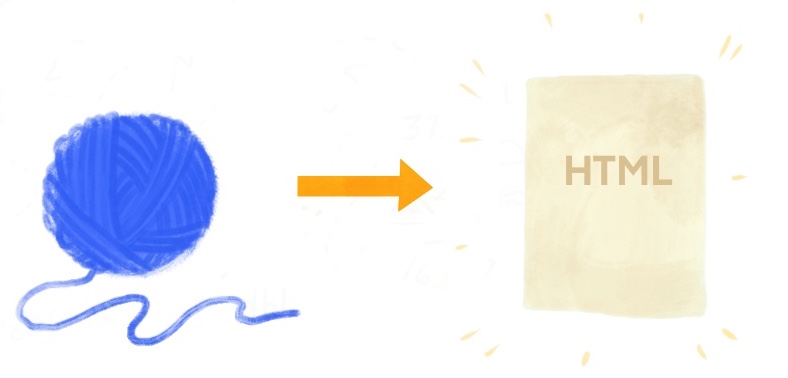
We are ready to knit for the first time now. Get excited.
Click on the 🧶 Knit button in RStudio.
You should see a preview of your HTML document in the right pane.
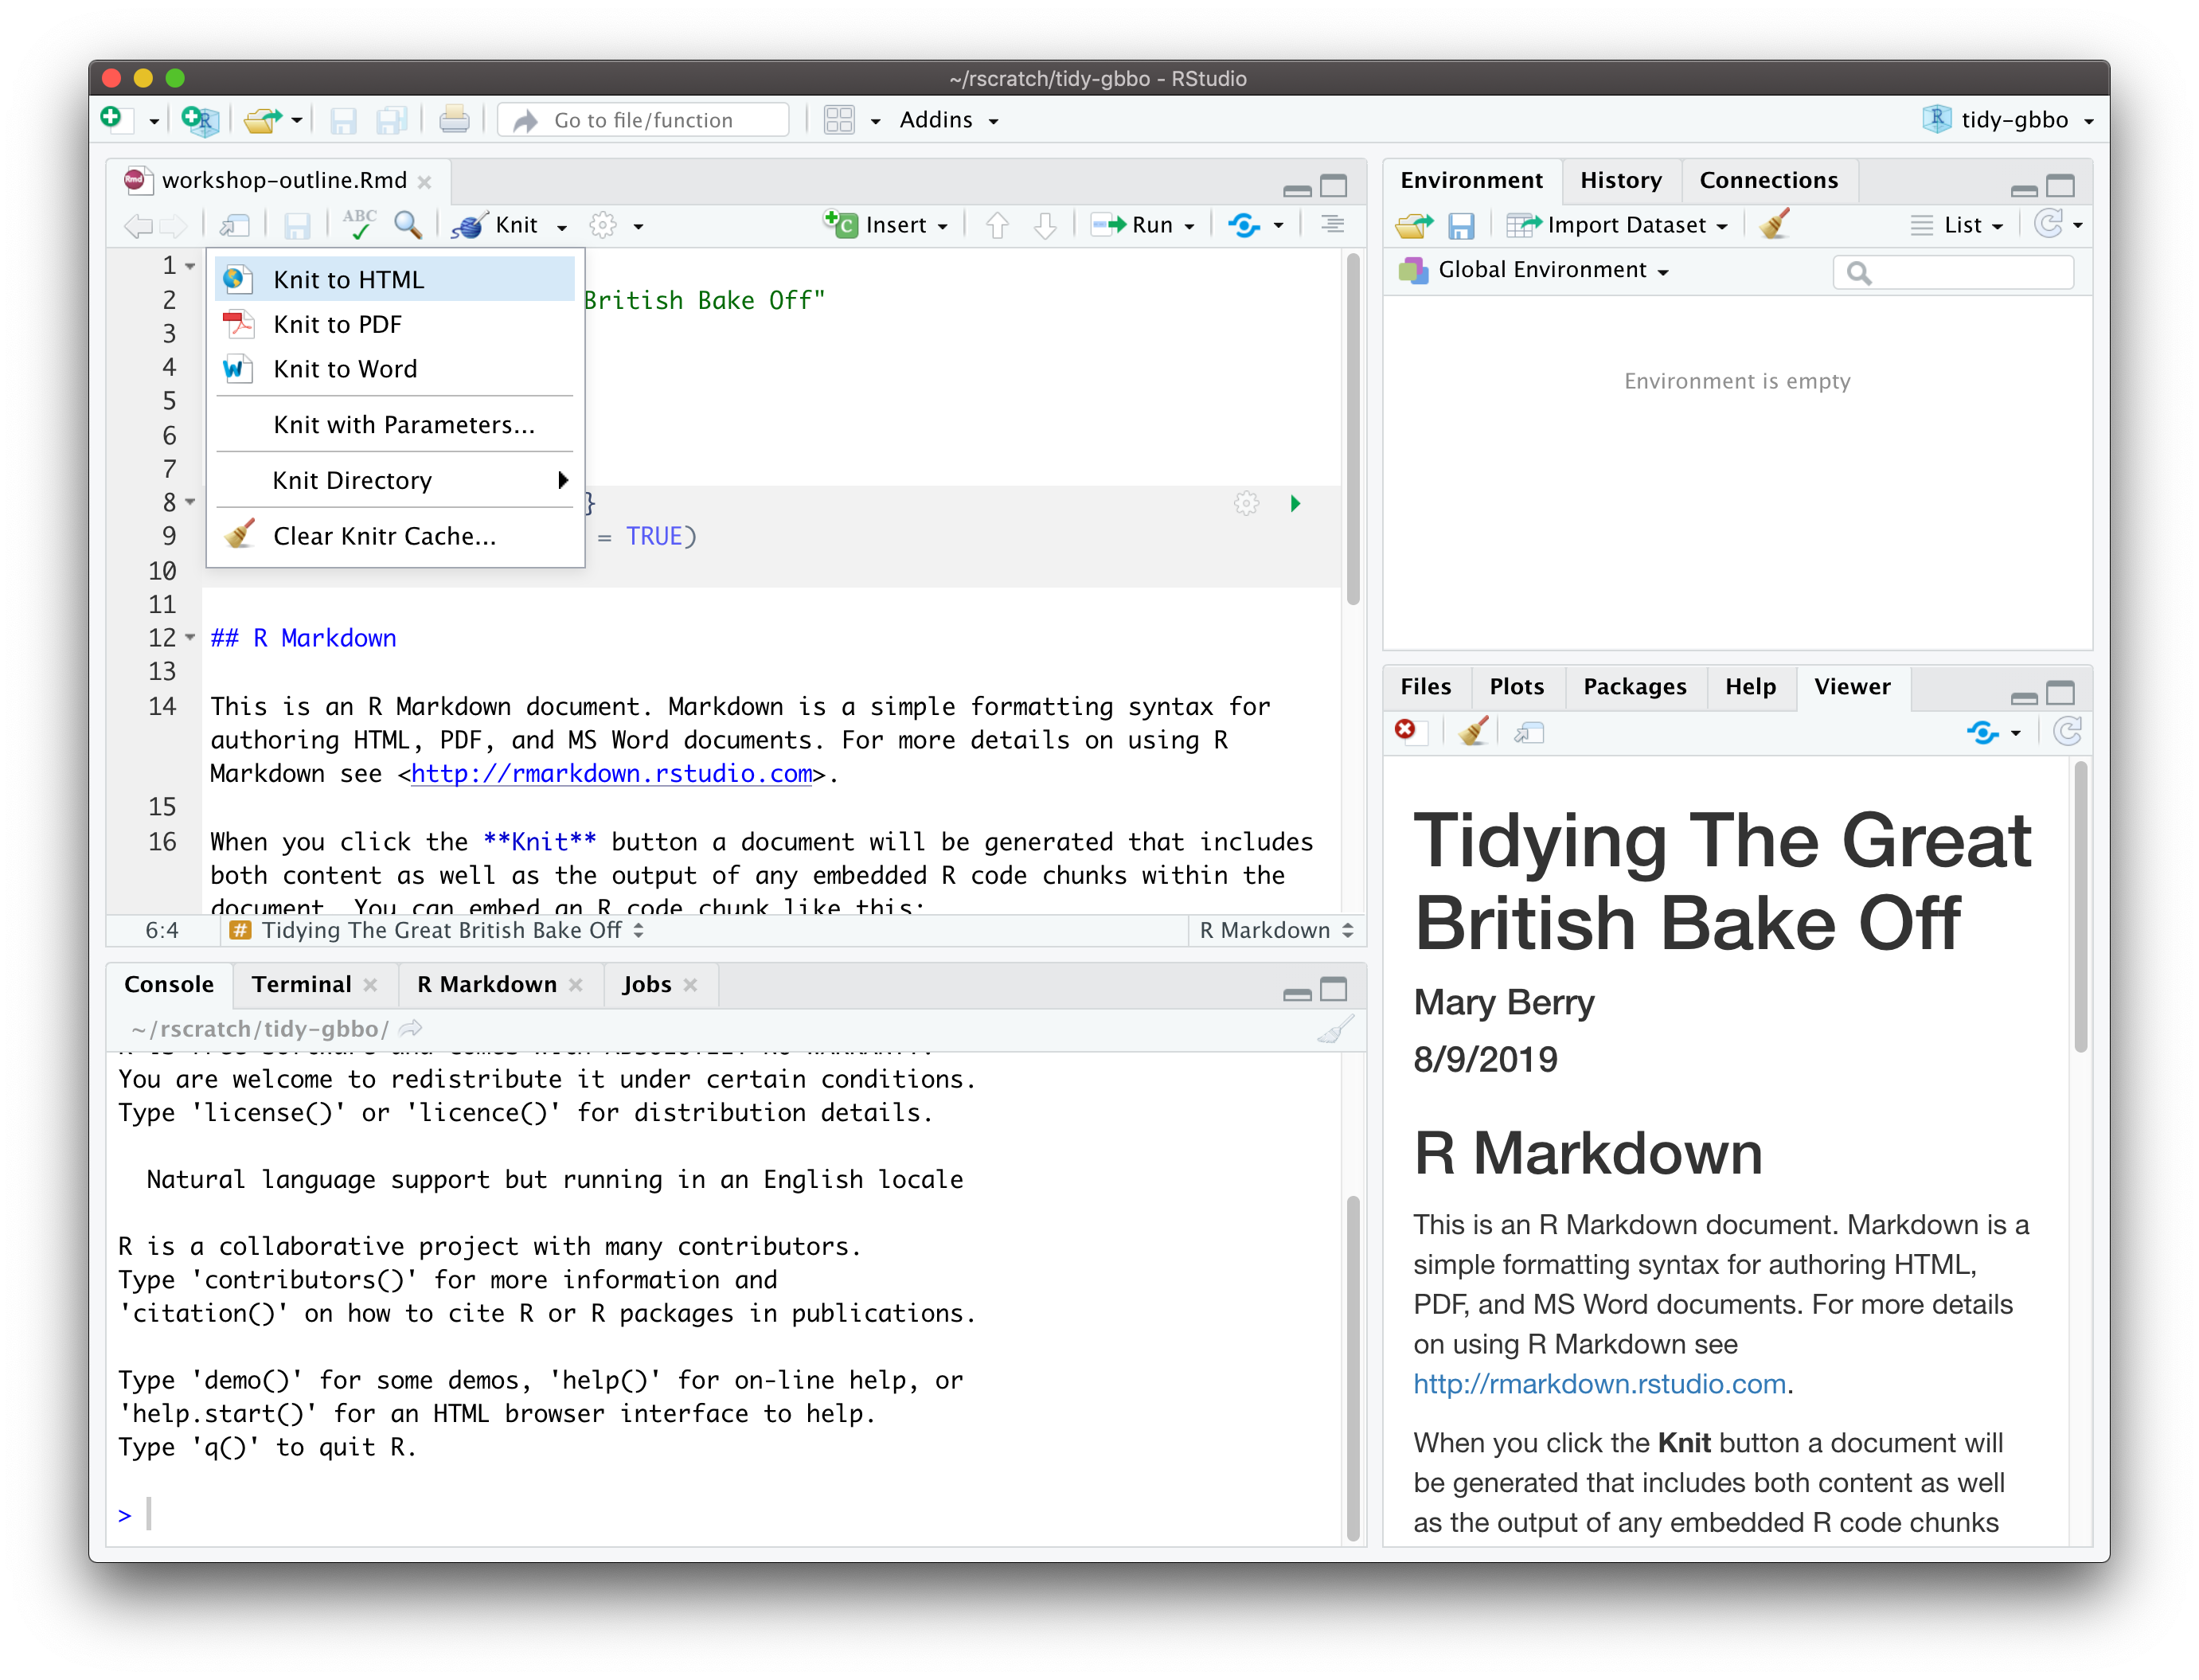
Figure 5.5: Knit to HTML
In your RStudio viewer pane, find the “Show in New Window” button and click on it to open your previewed document in a real browser window. The RStudio viewer can sometimes be misleading, as well as being TEENY.
5.6 Push to GitHub (again)
Let’s get this new document (and its knitted sibling) pushed up to our remote repository on GitHub. If you want your page to have the most recent updates you’ve made, then you always will need to knit before pushing to GitHub.
Go ahead and stage all your changed files, commit, and push to GitHub.
Now let’s publish the page.
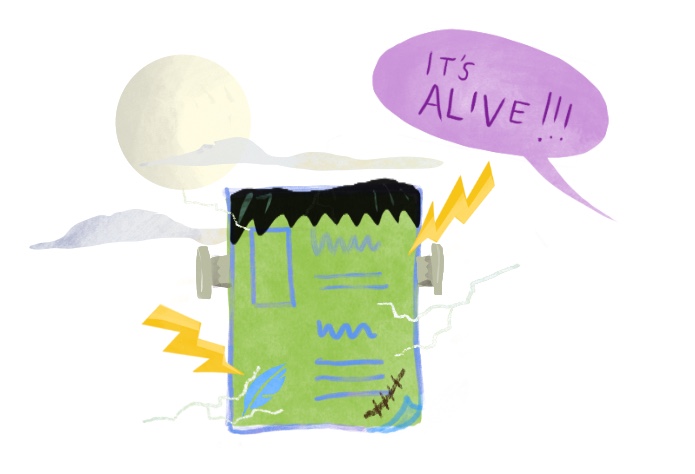
5.7 Make a living, breathing document!
The last step is to go online to the GitHub website and tell it where to find our website-ready doc (i.e., the knitted .html file):
Back on GitHub, click the Settings tab of your project repository.
Scroll down until you get to “GitHub Pages” and select “master branch/docs folder”. (This is why we had to set up
output_dir: docsin oursite.ymlfile previously. If your file doesn’t end up in thedocs/folder, GitHub pages won’t find it.)
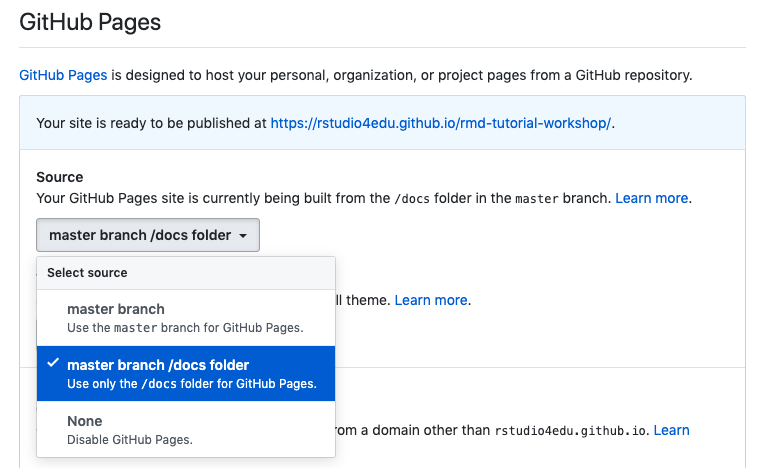
Congratulations! A url is generated–this is your website address. You can share it, tweet it, send it to your mom–it’s now live!
Add this url to the repo description so that it’s easy to find.

If you’ll only have this one document as the main page, consider renaming it index.Rmd- then your url will be shorter and easier to remember (or at least, as easy as your repo name is to remember!).
5.8 Uplevel your workflow
We followed a “GitHub first” workflow above, but if you’ll be using GitHub regularly, we recommend evolving this workflow.
First, install the usethis package:
install.packages("usethis")Then load it to use it:
library(usethis)
Now, follow the instructions from Happy Git with R for setting up a GitHub personal access token or PAT.
Be sure to restart your R session after setting up the PAT, and pay close attention that your .Renviron file has at least one empty line at the bottom.
Once you have a GitHub PAT set up in your .Renviron file, you can stay in the comfort of your project in the RStudio IDE to do all the GitHub things we were doing before online in your browser.
Now, here is your advanced workflow for creating a new R Markdown document inside a project:
Click File > New Project > New Directory > New Project (yes, you read that right: we said New Project twice, this is not a typo)
Create a new R Markdown document from template, save and 🧶 knit.
Then use your R console to run this code:
use_git()
use_github() # you have to have a PAT setup